Upgrading to a wooden Recorder?
Brand New Wooden Recorders
So you have a brand new wooden recorder, how exciting! While you might want to start playing it for hours and hours, that could severely damage your brand new instrument.
Instead you have to “Play it in”.
“Playing it in” - Before your recorder was made, the wood used was carefully seasoned till it had reached what is called "air dry". This is when the wood is stable at normal room humidity. As soon as you start playing, the moisture in your breath causes the wood to expand, especially in the windway. What you are trying to achieve is for the wood to gradually absorb moisture so that all of it expands a tiny bit. If you play the instrument for many hours straight away, what will happen is that the very surface of the wood will expand a lot, and the unexposed inner core of the wood will not expand at all. This can change the shape and dimensions of the windway - sometimes permanently. These dimensions are part of what is called the "voicing" of the recorder, and are critical down to points of a millimetre. Correcting damage to the voicing is a skilled and expensive job - much better to avoid it by applying a little patience and care. The idea is therefore to try and gradually acclimatise the wood in the recorder to its new moisture content, so that the expansion is as small as possible and as even as possible.
So play it in slowly over several weeks.
Week one - 5 minutes a day
Week two - 10 minutes a day
Week three - 15 minutes a day
Week four - 20 minutes a day
A good guide is to play long notes for the first few weeks, and get used the recorder’s tuning system. Figure our how much air you need and how it speaks when you use articulation. You might hear that the recorder reaches a point in the practice where it doesn’t sound very good. Stop playing immediately, as it has probably absorbed enough moisture for the day, and start again tomorrow.
Note: Don’t use anti-condense in the first few weeks of playing it in. Give the wood time to get used to the amount of moisture you adding as you play.
Daily Care
Remember wood is a natural material, therefore the surrounding humidity and temperature will make it expand and contract.
If you live in a very hot area, the recorder will naturally be a bit sharp, if you are living in a cold area the recorder will be a bit flat.
So the tips below are to help preserve your recorder so that it will last a long time:
Warm up your recorder - this is the most important step you can do to extend your recorder’s lifespan. Blowing straight into the recorder with lots of hot air can cause the wood to expand, block up the sound with condensation and in some cases begin to crack the wood.
To warm the recorder up, place the head-joint under your armpit, in your hands or someplace on your body that will naturally warm it up (a pocket or sleeve). Don’t try the other extreme by placing it in front of artificial heat sources such as heaters or the sun - this will damage the instrument.
Note - you only really need to warm up the head-joint as that is where most of the hot air and moisture from your breath is going to affect your wooden recorder.
If you are in a cold room, it's so important to warm the instrument, as not only it will sound better, but it is more likely to be in tune and less likely to condense when you start playing as the hot air from your breath won’t clog it up.
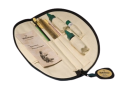
Dry your recorder after every playing/practice session - use the appropriate-sized recorder mop and cleaning rod with a piece of fabric or cotton handkerchief at the end to wipe the inside of your recorder dry. Apart from helping dry it out, this will stop your recorders from going mouldy!
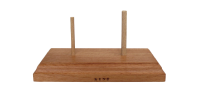
Leave your recorders to dry standing - before packing your recorder away in its nice new case, leave the recorder standing to dry. You can use a stand to “drip dry” it (after wiping it clean). Again this will stop your recorders from going mouldy as the use of gravity will drain out any remaining moisture.
Seasonal
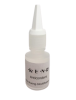
Oiling - There are many youtube tutorials and websites that give you detailed instructions on how to oil you recorder. A good rule is every seasonal change (Winter, Autumn, Spring and Summer) give your recorders some oil. There are maintenance kits that can help you clean, anti condense (if needed) and oil your recorder.
Joints:
Cork Grease - If the joints on your recorder are very tight, use some cork grease every so often to keep them lubricated.
Too loose? Use a piece of thread around the joint to tighten it, or a tiny scrap of paper covered in cork grease to slip onto the joint.
Common Problems on wooden recorders
Clogging - it is normal for recorders to clog up. Just like when you get into a car and it's cold outside and the windows start to fog; that's what is happening on the inside of your head-joint.
It will naturally go away - however there a few things you can do:
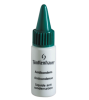
Use anti-condense - this will help stop the recorder from clogging up. Put a few drops into the labium and it should last you a couple of weeks.
Blow out the recorder head-joint - carefully! Hold your finger on the base of the windway and blow down a puff of air quickly. Again some say it damages the head-joint so it is your own choice. Other recorder players will cover the base of the head-joint and blow directly into the windway which will remove the condensation.
Suck in the air - during a performance you might not be able to stop the music and blow out your recorder. So sucking in the air from the head-joint during a rest might be your only option. There are arguments for and against this as it brings cold air back into your head-joint.
FAQ Wooden Recorders
My recorder sounds “fuzzy” on the higher notes?
Keep playing your recorder in slowly. Eventually that sound will slowly disappear as the wood adapts. If that fuzzy sound still continues revisit your left hand thumb technique. Also its helps to know that the harder the wood, the more likely you'll need to warm the recorder up before practice to help you reach the high notes and remove that "fuzzy" sound, especially for the first couple of weeks breaking it in.
The higher notes are harder to play on my wooden recorder?
Wooden recorders are not so forgiving as plastic recorders. If you find you are having more problems reaching the higher notes than on your plastic that is completely normal. Re-examine your thumb technique and air technique, as each wooden recorder will require a slightly different combination of air pressure and thumb position. You also may need to warm them up more before playing.
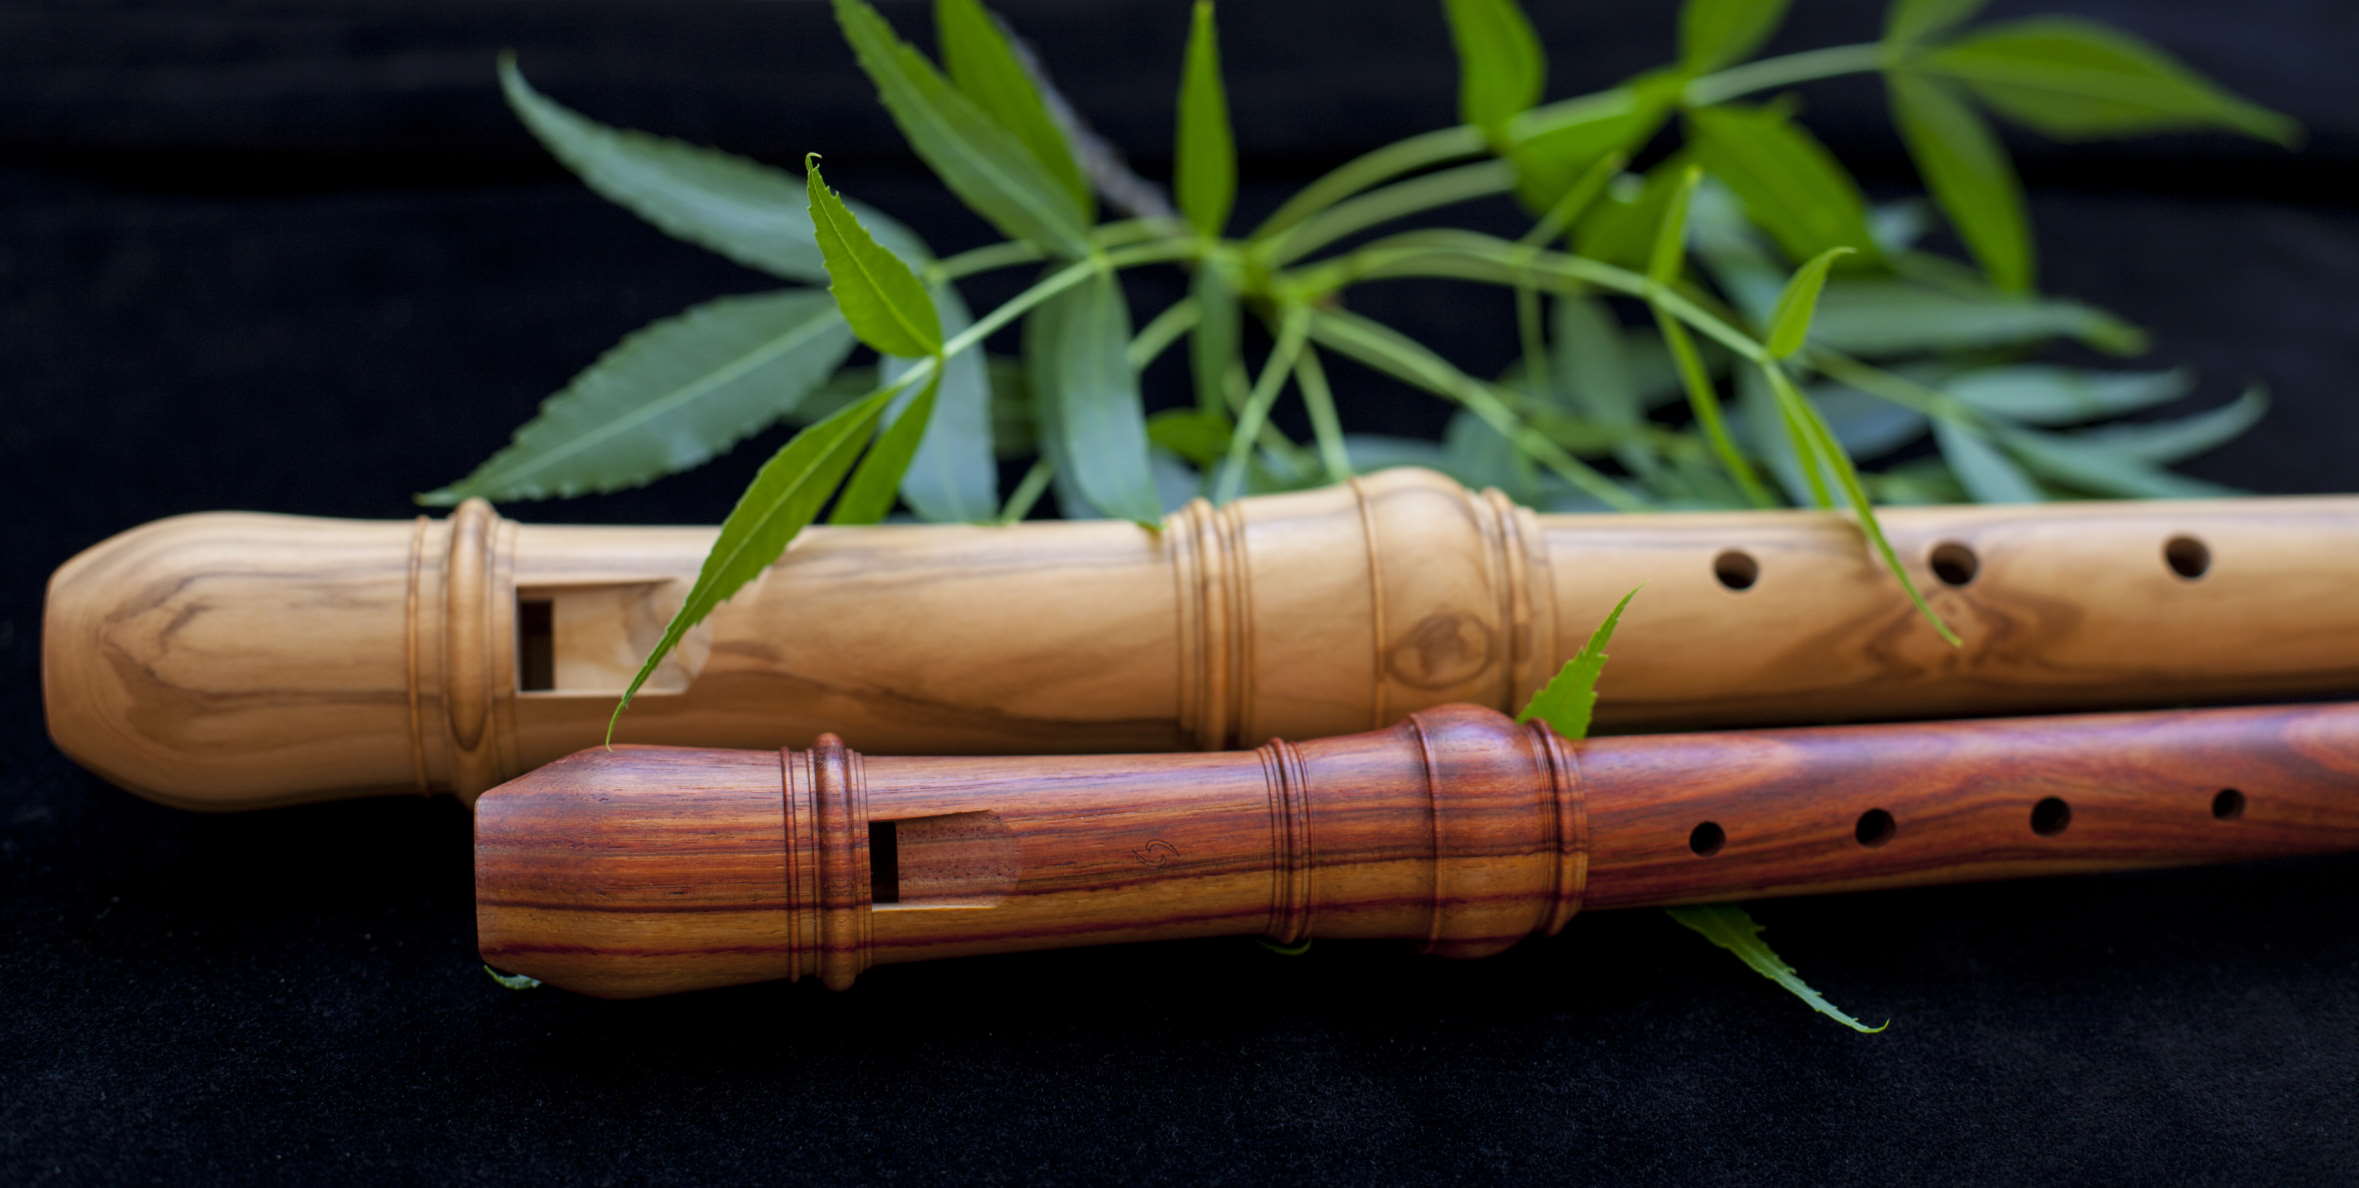
Do the different woods make a difference?
Yes. Recorders are made from a wide range of timbers, with the heaviest timber used in recorder making (grenadilla) being over twice the density of the lightest wood (cherry). As the air-stream moves through the windway of the recorder, many things affect its passage, and therefore the eventual sound produced. A very hard wood will allow the airstream to move quickly and smoothly through the windway, whereas in a softer wood the airstream is slowed down. The other important factor is the texture of the wood. Regardless of their hardness, some woods are really smooth, with very small pores (eg pearwood, maple, boxwood). Some other woods can have quite open pores, such as the various Rosewoods. The relative smoothness/roughness of the windway surface will cause the air to flow in different ways, with each flow-pattern creating a distinctive sound. The two extremes are good examples of how these factors can combine. In cherry wood we have the lightest wood, with reasonably open pores. The result is a sound that has fewer high frequencies - most people refer to this as being a very warm sound. Especially in the smaller size recorders, Cherry can produce very distinctive sounds, with a husky aspect that some people love, others not so much. At the other end of the spectrum Grenadilla is both hard and smooth, with very small pores, That combination produces a sound that is extremely clear and precise, responding very quickly and capable of rendering the most intricate ornaments. However, this combination would not work well for a player who likes to shape and mould the sound of a husky cherry recorder.
To key or not to key?
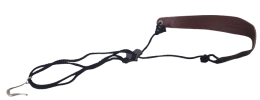
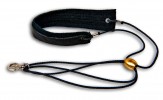
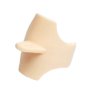
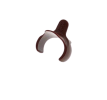
This depends on your handspan. For larger recorders, keys can be added to reduce the stretch between the holes The very soft sounds of the keys clicking can be annoying for some, but most people prefer the ease of playing than the small sound. Knick recorders are also a great way to position the recorder closer to the body so that the larger tenor and bass recorders are easier to play. The most popular way to help you with any pain while playing is a thumb rest or a neck strap, which can help redistribute the weight of the instrument.
This guide was written by Alexandra Joly.